- Regular Cleaning Protects Your Floors: Sweep, dust mop, or vacuum frequently to prevent dirt and grit from scratching the surface.
- Use the Right Tools and Products: Soft brooms, microfiber mops, warm water, and mild vinyl-safe cleaners preserve your floor’s finish.
- Mop Properly: Avoid soaking floors—damp mopping in sections and drying immediately prevents water damage.
- Treat Stains Quickly: Promptly address spills, ink, grease, and scuff marks using safe cleaning methods to prevent permanent damage.
- Prevent Damage Between Cleanings: Use felt pads, rugs, a no-shoes policy, and trim pet nails to reduce wear and scratches.
- Avoid Common Mistakes: Stay away from harsh chemicals, steam mops, abrasive tools, and dragging heavy furniture across the floor.
- Tailor Care to Each Room: Kitchens, bathrooms, living rooms, and entryways each have unique cleaning needs to maintain floor longevity.
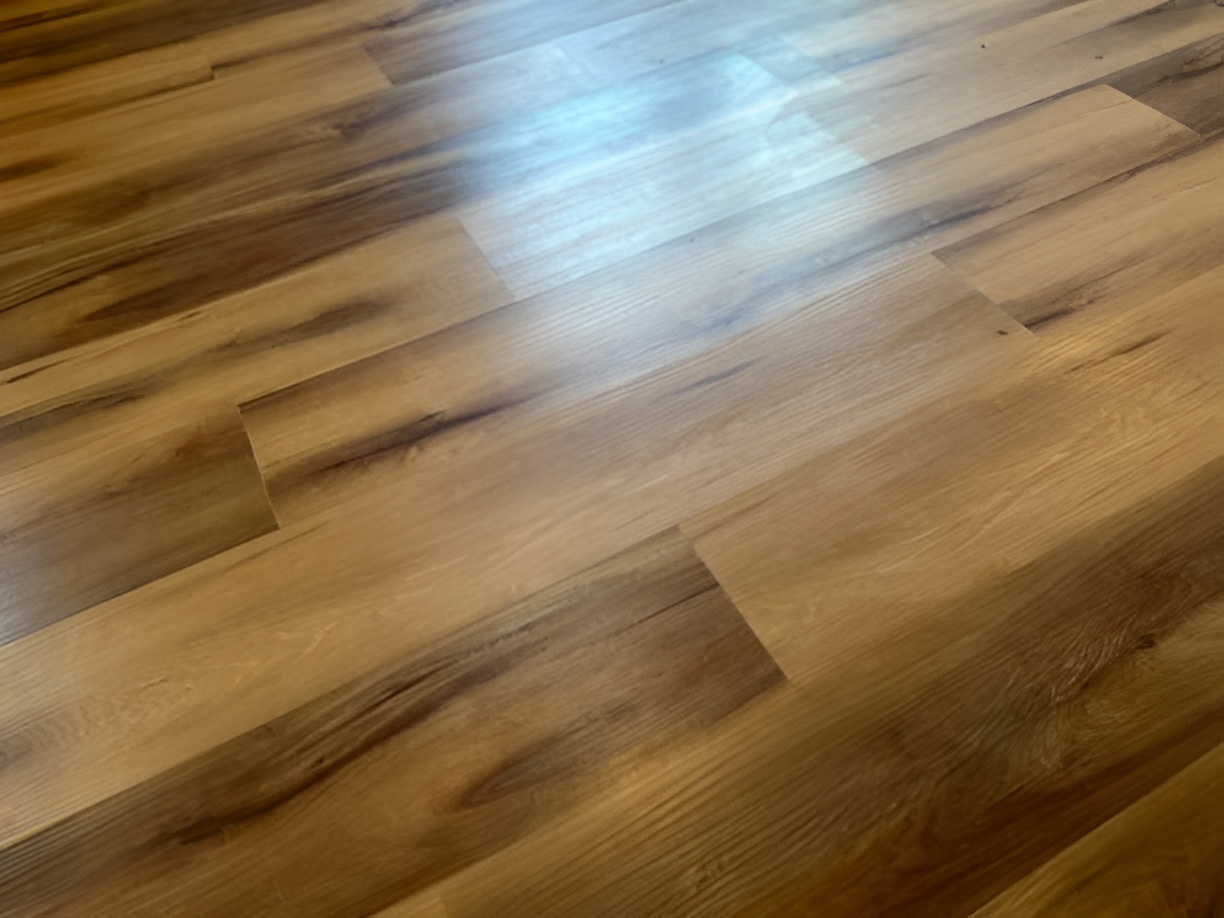
Vinyl plank flooring is a favorite for many homeowners because it’s durable, versatile, and looks great in any room. But even the toughest floors can start to look dull if they aren’t properly cared for. With regular maintenance and the right cleaning methods, you can keep your vinyl plank flooring looking fresh and new for years. This guide will walk you through everything you need to know about cleaning, protecting, and maintaining your vinyl floors.
Why Proper Cleaning Matters for Vinyl Plank Flooring
Vinyl flooring is designed to withstand heavy foot traffic, spills, and everyday wear. However, improper cleaning techniques can cause scratches, discoloration, or damage to the surface. Learning how to clean vinyl flooring the right way ensures you don’t harm the protective wear layer, keeping your floors safe and looking great. Using harsh chemicals or abrasive tools can erode the surface, leaving your floors vulnerable. On the other hand, gentle cleaning, combined with routine maintenance, will preserve the shine and durability of your vinyl planks.
Keeping your floors clean also helps maintain a healthier home environment. Dust, dirt, and allergens can accumulate over time, affecting air quality. Regular cleaning prevents buildup and keeps your space looking polished.
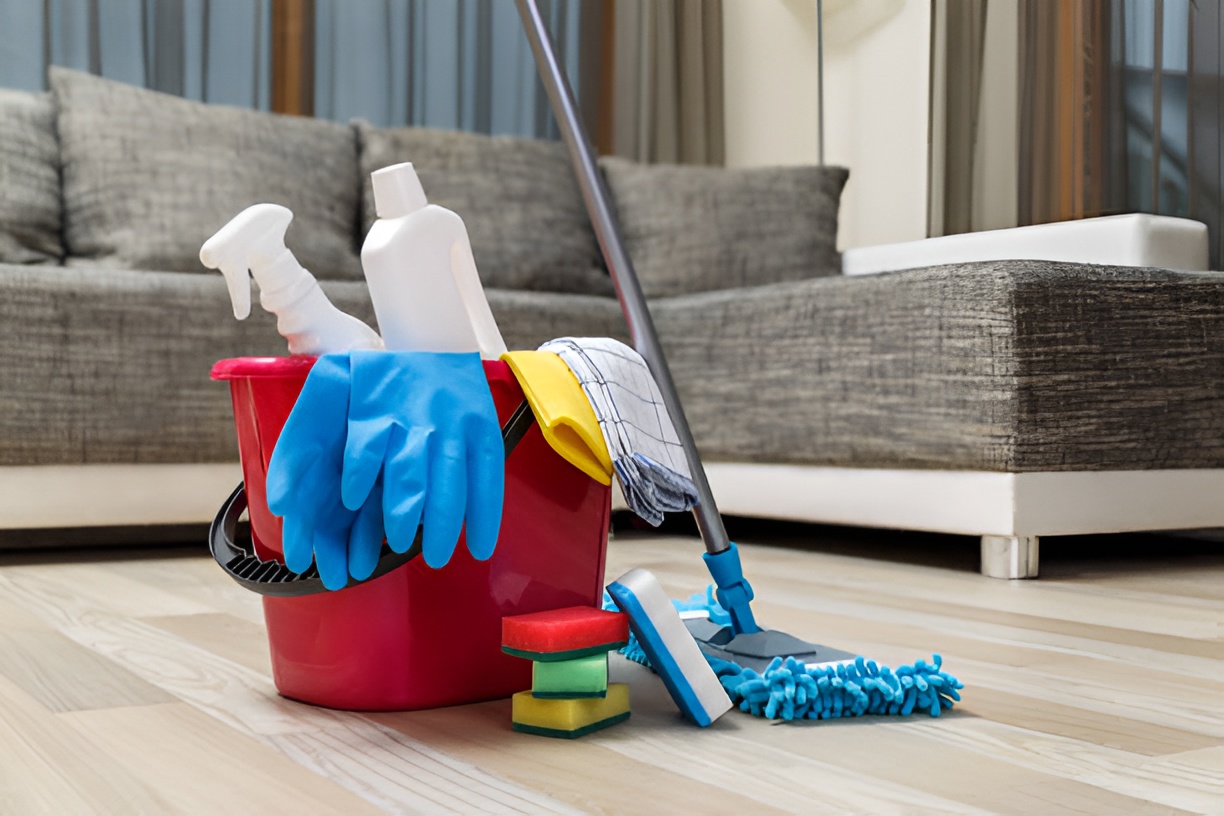
What You’ll Need to Clean Vinyl Plank Flooring
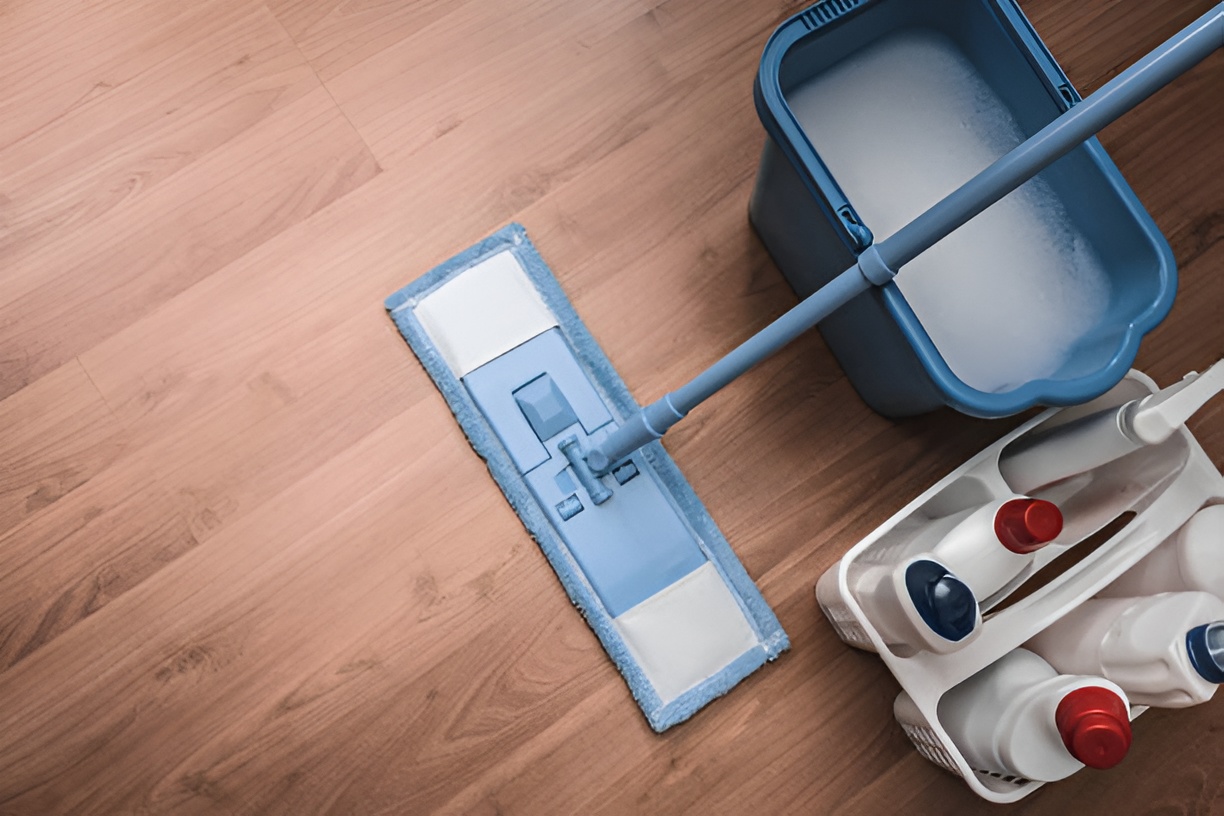
Before you start cleaning, it’s important to gather the right tools and products. Using the wrong supplies can harm the flooring. Here’s what you’ll need:
- Soft broom or dust mop: Avoid stiff-bristled brooms that can scratch the surface.
- Vacuum cleaner (optional): Ensure it has a hard-floor setting or a soft brush attachment.
- Microfiber mop: Perfect for both dry and wet cleaning without scratching.
- Bucket: For mixing cleaning solutions.
- Mild floor cleaner: Use products specifically labeled for vinyl flooring. Avoid bleach or ammonia-based cleaners.
- Warm water: Helps dissolve dirt without damaging the finish.
- Soft cloths or towels: For spot cleaning and drying the floor.
How Often Should You Clean Vinyl Plank Flooring?
Frequency matters when it comes to keeping your floors looking new. Here’s a simple schedule:
- Daily or every few days: Sweep or dust mop to remove loose dirt and debris.
- Weekly: Damp mop with warm water or a mild cleaner.
- Monthly or as needed: Deep clean or treat stains.
Consistency is key. Dirt and grit can act like sandpaper if left on the floor, gradually wearing down the finish.
Can You Vacuum Vinyl Plank Flooring?
Yes, but it’s important to use the right vacuum. Avoid vacuums with a beater bar or rotating brush, as they can scratch the floor. Instead, use:
- A vacuum with a hard-floor setting
- A soft-brush attachment
- A handheld vacuum for corners and edges
Vacuuming is especially useful in homes with pets, as it removes hair and dander efficiently.
How to Sweep and Dust Mop Vinyl Floors
Sweeping or dust mopping is the easiest way to maintain vinyl flooring. Follow these tips:
- Use a soft-bristle broom or microfiber dust mop.
- Sweep in one direction to collect fine dirt and dust.
- Empty your dustpan or mop frequently to avoid redistributing dirt.
- Avoid sweeping with excessive force, which can scratch the finish.
A quick sweep each day keeps dirt from building up and reduces the need for harsh cleaning.
How to Mop Vinyl Plank Flooring Without Damaging It
Mopping is a critical part of vinyl floor care, but too much water or harsh solutions can cause damage. Here’s the correct method:
- Mix your solution: Use warm water and a few drops of mild vinyl floor cleaner in a bucket.
- Dampen the mop: Make sure it’s slightly wet, not soaking. Excess water can seep into seams and edges.
- Mop in sections: Work in small areas, rinsing the mop as needed.
- Dry immediately: Use a soft cloth or towel to remove excess moisture.
Avoid steam mops, as the heat and moisture can loosen adhesive and damage planks over time.
How to Remove Stains from Vinyl Plank Flooring
Stains happen, but vinyl is surprisingly easy to treat if you act quickly. Here are common types and solutions:
- Food and drink spills: Wipe immediately with a damp cloth and mild cleaner.
- Ink or marker: Use a soft cloth with rubbing alcohol; test in an inconspicuous area first.
- Grease: Sprinkle baking soda on the stain, let sit, then gently scrub with a soft cloth.
- Scuff marks: Rub gently with a pencil eraser or a baking soda paste.
Always avoid abrasive scrubbers, steel wool, or harsh chemicals, as they can scratch or discolor your floor.
How to Keep Vinyl Plank Flooring Shiny
Maintaining the shine of your vinyl planks doesn’t require expensive products. Here are some tips:
- Clean regularly: Dirt and grime can dull the finish.
- Avoid waxes unless recommended: Most modern vinyl floors are designed to be maintenance-free and don’t need waxing.
- Use rugs in high-traffic areas: Place mats at entryways and in front of sinks to prevent wear.
- Protect from sunlight: Prolonged exposure can fade flooring. Consider curtains or UV-protective films.
A little preventative care goes a long way in preserving your floor’s appearance.
Common Mistakes to Avoid When Cleaning Vinyl Plank Flooring
Even experienced homeowners make mistakes. Here’s what to watch out for:
- Using abrasive brushes or scrubbers
- Overusing water or steam cleaning
- Applying bleach, ammonia, or other harsh chemicals
- Ignoring spills and letting stains set
- Dragging heavy furniture across the floor without protection
Avoiding these pitfalls will help your vinyl planks last longer and look better.
How to Protect Vinyl Flooring Between Cleanings
Prevention is just as important as cleaning. Consider these strategies:
- Use felt pads: Place under furniture legs to prevent scratches.
- Area rugs and mats: Especially at entrances to trap dirt and moisture.
- No-shoes policy: Reduces dirt, grit, and potential scuffs.
- Trim pet nails: Prevent scratches from claws.
Simple steps like these reduce wear and keep your floors looking new.
Can You Use DIY Cleaners on Vinyl Flooring?
Yes, but only certain homemade solutions are safe:
- Vinegar and water: Mix 1 cup of white vinegar with 1 gallon of warm water. Effective for general cleaning.
- Baking soda paste: For tough stains, mix baking soda with a small amount of water and gently scrub.
- Mild dish soap: A few drops in warm water can help with grease or sticky spills.
Avoid undiluted vinegar or abrasive DIY solutions that can eat away at the protective layer.
How to Deep Clean Vinyl Plank Flooring
Even with regular maintenance, your vinyl floor may need a deep clean once in a while:
- Clear the room of furniture.
- Sweep or vacuum thoroughly.
- Mop with a vinyl-safe cleaner.
- Focus on corners and seams where dirt collects.
- Dry completely to prevent moisture damage.
Deep cleaning once every few months can restore the floor’s original shine.
How to Deal With Scratches and Minor Damage
Vinyl is durable, but scratches can happen. Here’s how to handle them:
- Minor surface scratches: Rub gently with a soft cloth and a small amount of vinyl floor polish.
- Deeper scratches: Consider vinyl repair kits or colored wax sticks to fill in damaged areas.
- Preventative care: Use protective pads and rugs in high-traffic areas.
Acting quickly can minimize damage and prevent scratches from spreading.
How to Maintain Vinyl Flooring in Different Rooms
Different areas of your home may require slightly different approaches:
- Kitchen: Frequent spills and grease require prompt cleaning. Use mats near sinks.
- Living room: Use area rugs under furniture to prevent scratches.
- Bathrooms: Avoid excess water and clean up spills immediately.
- Entryways: Sweep or vacuum often to remove dirt and sand.
Tailoring your cleaning routine to each room helps preserve your floor’s longevity.
How to Extend the Life of Your Vinyl Plank Flooring
Beyond cleaning, proper maintenance ensures your floors stay beautiful:
- Avoid dragging heavy furniture across the floor.
- Use furniture coasters or pads to prevent dents.
- Control indoor humidity: Extreme changes can affect vinyl planks.
- Schedule regular cleaning and touch-ups as needed.
Following these steps will keep your vinyl flooring looking as good as the day it was installed.
FAQs About Vinyl Plank Flooring Cleaning
Can I use a steam mop on vinyl floors?
Generally, it’s not recommended. Excessive heat and moisture can loosen planks and damage the wear layer.
Will vinegar damage my vinyl flooring?
Diluted vinegar is safe, but undiluted vinegar or acidic cleaners can harm the surface.
How do I remove water spots?
Wipe immediately with a soft, dry cloth. For persistent spots, a mixture of water and mild soap usually works.
How often should I deep clean my vinyl floors?
Once every few months or when you notice buildup and dullness.
Are commercial vinyl cleaners better than homemade solutions?
They are convenient and formulated for vinyl, but safe DIY solutions like vinegar and water also work well for routine cleaning.
Wrapping It Up
Keeping your vinyl plank flooring looking new doesn’t have to be complicated. With the right tools, gentle cleaning methods, and a little preventative care, you can enjoy beautiful, durable floors for years. Remember to sweep and mop regularly, address stains quickly, and protect your flooring from scratches and excessive moisture. By following these steps, your vinyl floors will remain a shining, inviting feature in your home.