
Ceramic tile installation is an good DIY project for homeowners who are looking renovate their bathrooms, kitchen, and hallways. When it comes to floor tile installation, preparation is key for best results.
Simple Guide to Installing Tiles in Your Home
- Assess the cement board and make sure it’s ready for tiling. Check for poking nails and big ridges, which should be sanded down with a belt sander.
Screw the boards securely to the floor
- Put the underlayment underneath the tile to increase the overall lifespan of your tiles. Make sure it spreads nice and well, and wet to enhance good substrate adhesion.
- Apply the Ditra product to allow ceramic tile installation over the underlayment substrate. It’s waterproof, super light and easy to cut.
- Go ahead and apply the powdered thinset, spread a thin layer first and before it the scratch coat dries, apply more thinset. Ensure you finish with a straight pass for best adhesion.
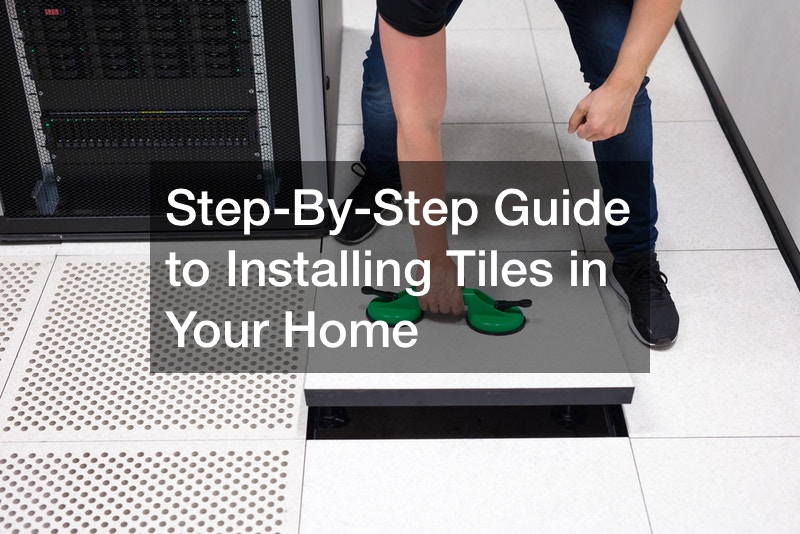
- Lay the tile into the wet thinset by gently pressing it into the concrete to remove any ridges and embed it firmly in the thinset. Be careful on the corners not to tilt the tile. Before moving to the next section of tile, inspect what you’ve installed so far to see if the tiles are lined up correctly and tile spacing is uniform.
- Once you’re done, use a damp sponge to wipe any thin-set of the face of tiles.
.